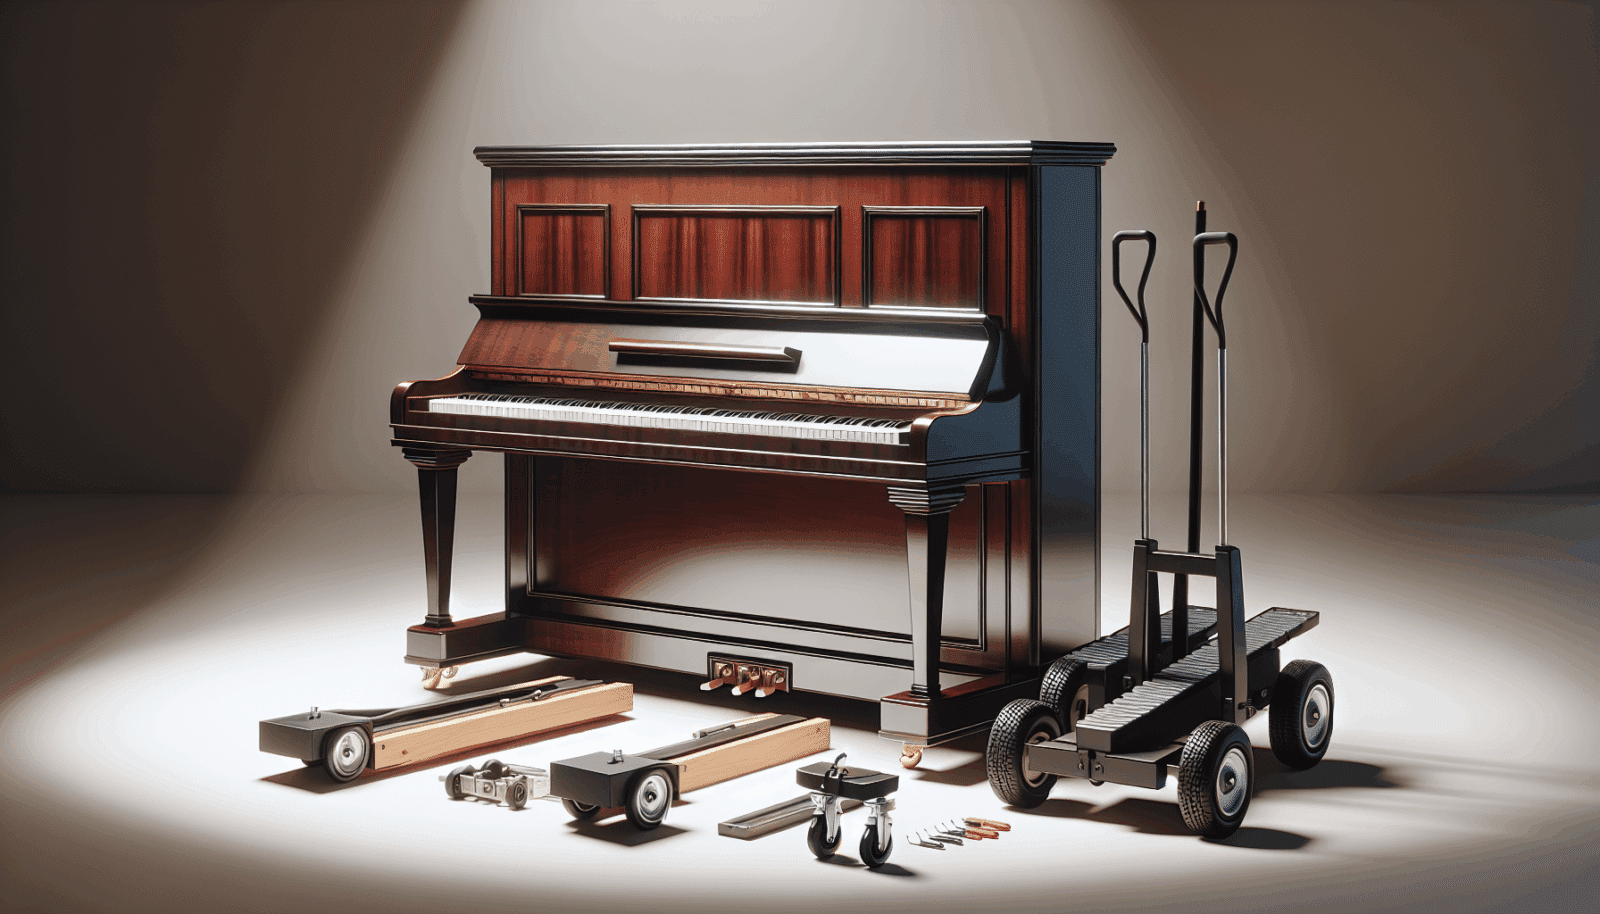
Moving a Console Piano can be a daunting task, especially when you consider its size, weight, and the sentimental value it may hold. But don’t worry! Here at Utah Piano Movers, we specialize in making the experience seamless and stress-free for homeowners like you. This guide will equip you with all the necessary steps to safely move your beloved console piano, ensuring it reaches its new home without a hitch. Whether you are moving across the street or to a new town, our expert advice has you covered.
Contents
- 1 Understanding Your Console Piano
- 2 Planning Your Move Efficiently
- 3 Gathering Necessary Equipment
- 4 Disassembling the Parts
- 5 Protecting Your Console Piano
- 6 Execution Day: Lifting Techniques
- 7 Securing the Piano on the Dolly
- 8 Transporting the Piano Safely
- 9 Unpacking and Reassembling Your Piano
- 10 Conclusion
Understanding Your Console Piano
Before diving into the logistics, it’s essential to understand what classifies as a console piano. Typically, a console piano stands about 40-44 inches tall and is known for its upright design, which helps it fit beautifully into most household spaces. Learning about its structure aids you in better handling the instrument during the move. Keep in mind that although it’s not the bulkiest piano, it still requires special care to prevent any damage. With this knowledge in hand, you’re better prepared to manage the task at hand.
Console pianos have strings running vertically but use a slightly complicated action mechanism compared to full uprights. This makes them a cherished possession that needs meticulous attention while being moved. Unlike smaller musical instruments, a piano possesses specific features that should be protected during transportation, such as the keys, pedals, and casing. With us by your side, we alleviate these challenges and handle all critical aspects of the process.
Planning Your Move Efficiently
Any successful operation begins with a robust plan, and moving your console piano is no exception. Prepare a checklist that outlines every step, from preliminary assessments to final placement. Consider evaluating the distance between the current and new location, as well as the route’s challenges. Narrow staircases, sharp corners, and uneven floors should be mapped out to avoid mishaps during the process.
Also, measure your piano and the doors thoroughly to ensure smooth entry and exit. Investing in the right tools and materials, such as moving blankets and piano dollies, is crucial for safeguarding your instrument. This meticulous planning phase will save you headaches down the line and keep your prized piano safe during the entire journey.
Gathering Necessary Equipment
Having the right equipment is paramount when it comes to moving a console piano. You wouldn’t want to realize mid-way that you lack an essential tool. Among the tools required, a piano dolly is indispensable, providing you with the perfect blend of strength and stability. Moving blankets, on the other hand, ensure your piano’s surface remains unscratched.
Consider purchasing heavy-duty straps and padding materials for an added layer of protection. Additional items like stair rollers can be incredibly helpful if your relocation involves navigating flights of stairs. Equipped with these, your move is already off to a promising start.
Disassembling the Parts
To minimize damage and make the piano easier to transport, carefully disassemble loose parts. Start with the music rack, keys lid, and pedal unit if you can. When you disassemble these components, not only does it make the piano lighter, but it also reduces the risk of breakage for these fragile parts.
Remember to take note of how each piece comes apart to ensure easier reassembly later on. Label the removed pieces and carefully pack them using bubble wrap or similarly protective materials. This attention to detail will contribute significantly to a successful move.
Protecting Your Console Piano
When it comes to protecting your console piano, using high-quality padding and wrapping is key to preventing scratches and dents. Here are some important guidelines that will help:
- Use Thick Moving Blankets: Drape thick moving blankets over the body of the piano to shield it from abrasions and impacts. Feel free to secure it with packing tape so it doesn’t slip off during transit.
- Apply Lightweight Foam Padding: Cover the edges and corners with lightweight foam padding to absorb shocks during movement.
- Wrap Keys and Pedals Separately: Use bubble wrap for keys and pedals, ensuring they are protected from debris and jostling.
- Secure the Wrapping with Stretch Wrap: After wrapping in blankets and padding, use stretch wrap to keep everything firmly in place.
- Protect the Base with Rubber Grippers: Consider using rubber grippers around the base to prevent unwanted slips while moving the instrument.
Execution Day: Lifting Techniques
On the day of the move, it’s essential to employ the proper lifting techniques to prevent injuries and damages. Always lift using your legs, not your back, to maintain stability and control. Encourage a team effort where the weight is evenly distributed among movers, ensuring no individual is overburdened.
Use lifting straps to manage the piano’s considerable weight and maneuverability. These straps help in distributing the load more effectively, alleviating pressure on individuals’ muscles and joints. Remember, patience is key; rushing can lead to unfortunate accidents.
Securing the Piano on the Dolly
Once everything is padded and wrapped, it’s time to get the piano on the dolly. First, tilt the piano gently and slide the dolly underneath. Make sure the weight is balanced and that the piano is safely secured using heavy-duty straps. Avoid toppling by applying pressure evenly between the piano and the dolly.
Ensure the dolly’s wheels are locked when not moving the piano to prevent accidental rolling. With your piano firmly settled and balanced on the dolly, you’re set to navigate shorter distances with ease and confidence.
Transporting the Piano Safely
Whether you’re moving your piano within the same street or relocating it further away, transporting it safely is crucial. When loading the piano onto the moving vehicle, ensure that it is positioned and secured against a sturdy surface to prevent it from shifting.
Cushion any gaps between the piano and the vehicle’s wall with additional padding. During transit, avoid sudden accelerations, sharp turns, and heavy braking to keep the piano stable. Remember, the goal here is to minimize movement and vibrations throughout the journey.
Unpacking and Reassembling Your Piano
Once your console piano arrives at its destination, the final phase begins: unpacking and reassembling. Begin by gently removing the protective materials and assessing for any damages that might have occurred. Reassemble previously removed parts like the pedals, music rack, and key cover with care.
After reassembly, you may notice that your piano might need slight tuning adjustments. With your instrument safely moved and reassembled, you can begin to enjoy its melodious tunes amid your new surroundings.
Conclusion
With these detailed instructions, moving your console piano becomes manageable and less intimidating. However, should you seek professional assistance, our experts at Utah Piano Movers are always here to extend our help. For more seamless service, Contact Us today by phone at 801-396-7323 or Request a Free Quote.


