If you’re a homeowner, imagining the task of moving your beloved Console Piano might send shivers down your spine. Utah Piano Movers understands the intricacies involved, so we’ve crafted this comprehensive guide to ease your worries. This blog post will offer you detailed, practical tips for moving your console piano safely. Whether you’re a DIY enthusiast or planning to hire professionals, this article is tailored just for you.
Contents
- 1 Understanding the Importance of Proper Preparation
- 2 Gathering the Right Materials
- 3 Disassembling What You Can
- 4 Protective Wrapping
- 5 Loading Onto the Dolly
- 6 Navigating Through Tight Spaces
- 7 Using Proper Lifting Techniques
- 8 Securing During Transport
- 9 Unloading and Reassembly
- 10 Hiring Professionals
- 11 Final Thoughts
Understanding the Importance of Proper Preparation
Preparation is the cornerstone of any successful piano move. Taking the time to prepare adequately can prevent potential damage and reduce stress. Start by assessing the path from your piano’s current location to its new home. Measure doorways, hallways, and staircases to ensure the piano can fit through these spaces.
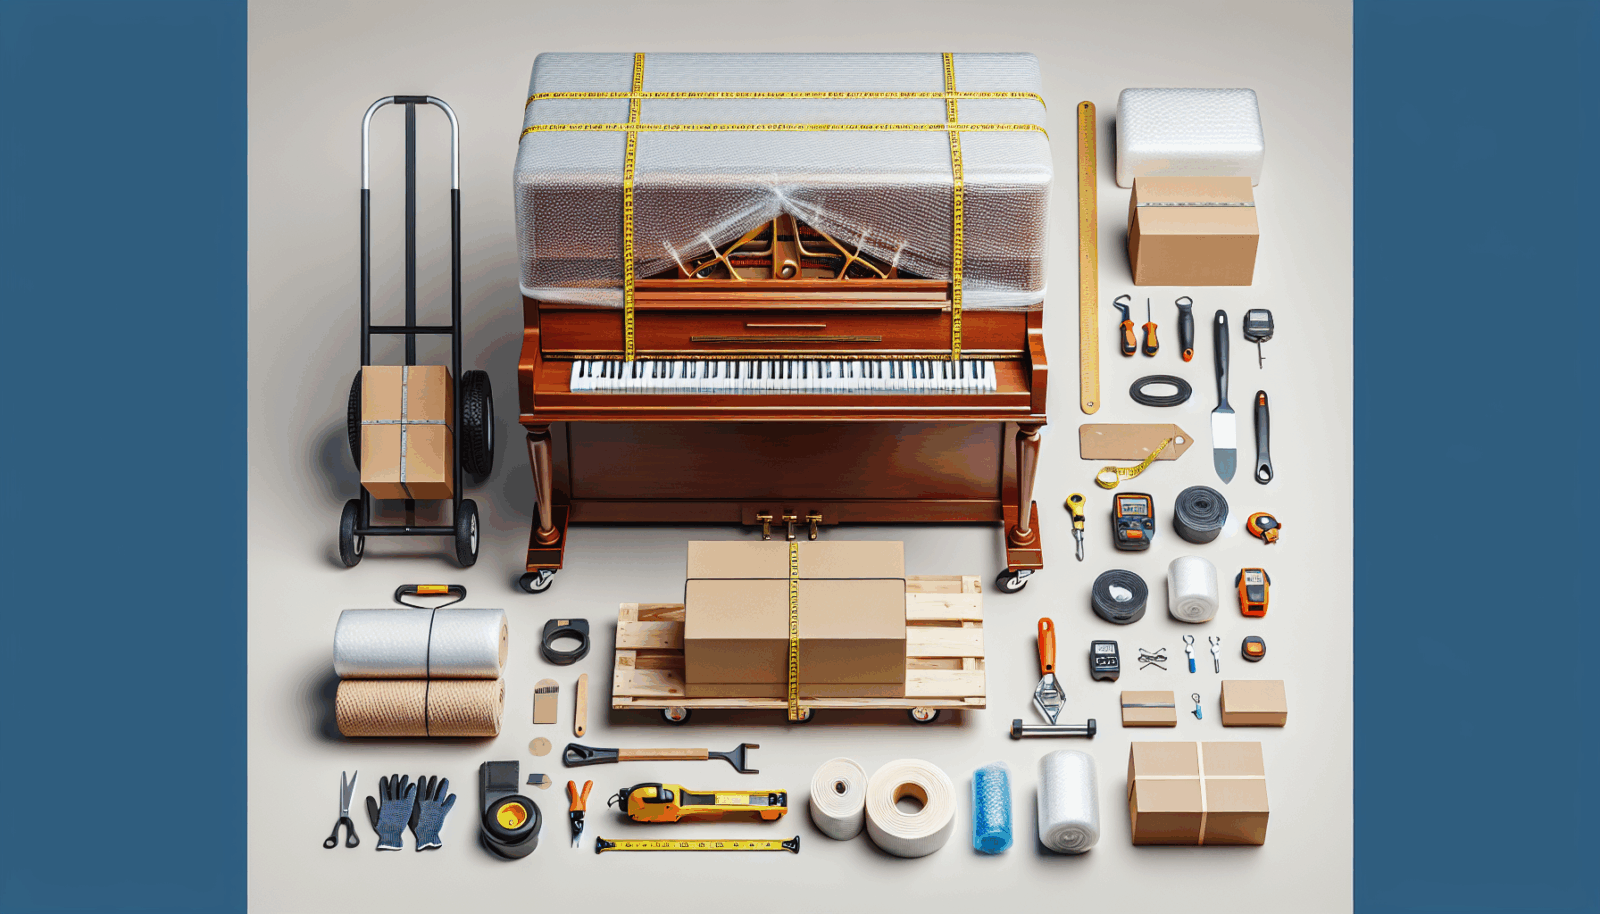
If you’re contemplating moving the piano yourself, gather all necessary materials in advance. This includes moving blankets, straps, and a piano dolly. Familiarizing yourself with the moving equipment will make the process smoother and safer.
Gathering the Right Materials
Having the right materials on hand can make a world of difference. For a console piano move, you’ll need a few essential items. Start with sturdy moving blankets to protect the piano’s finish. Secure these with heavy-duty straps to ensure they don’t slip off during transit.
You’ll also need a piano dolly, which is specifically designed to handle the weight and dimensions of a piano. Don’t forget a set of gloves to provide extra grip and protect your hands.
Disassembling What You Can
While console pianos don’t have as many removable parts as their grand counterparts, there are still some components that can be disassembled to make the move easier. Remove the piano lid if possible, and gently pack it separately.
Pedals and other detachable parts should also be removed and wrapped securely. This not only protects these parts but also makes the piano lighter and easier to maneuver.
Protective Wrapping
The next crucial step is to wrap the piano in moving blankets. These blankets act as a protective shield, guarding against scratches, dents, and other potential damages. Wrap the piano completely, not leaving any part exposed.
After the piano is securely wrapped, use heavy-duty straps to keep the blankets in place. Pay special attention to the corners and edges, which are typically more prone to damage.
Loading Onto the Dolly
Now comes the challenging part: lifting the piano onto the dolly. This is a task that should never be done alone. Always have at least three or four strong individuals to help with the lifting process. Coordinate your movements and lift in unison to avoid any mishaps.
Once the piano is on the dolly, make sure it sits evenly. Strap it securely to the dolly and double-check that everything is stable before you start moving.
Even with all the preparation, tight spaces can pose a significant challenge. Take a slow and steady approach when navigating through doorways, hallways, and around corners. Communicate clearly with your team, calling out any obstacles or adjustments that need to be made.
If you encounter a particularly tight spot, don’t force the piano through. Take a moment to assess the situation and figure out the safest way to proceed. Sometimes, tilting the piano slightly can help it fit through narrow spaces, but do this cautiously.
Using Proper Lifting Techniques
Proper lifting techniques are essential to avoid injury or damage when moving a heavy object like a piano. Here are some key points to keep in mind:
- Lift with Your Legs: Always use your leg muscles, not your back, to lift the piano. This reduces the risk of back injuries.
- Keep the Piano Close: Hold the piano as close to your body as possible to maintain control and balance.
- Coordinate with Your Team: Count out loud and lift simultaneously to ensure everyone is moving in unison.
- Avoid Sharp Movements: Move slowly and avoid sudden shifts in direction that could compromise stability.
- Use Supports When Needed: Place temporary supports or wedges under the piano if you need to pause and readjust.
Securing During Transport
Once the piano is safely on the moving truck, securing it properly is crucial. Use additional straps to anchor the piano to the walls or floor of the truck. This will prevent it from shifting or tipping over during transit.
Make sure the piano is placed on a non-slip surface to minimize movement. Check all straps and supports before moving the truck to ensure everything is in place.
Unloading and Reassembly
Unloading the piano requires the same level of caution and teamwork as loading. Carefully reverse the steps you took when loading it onto the truck, and make sure to communicate clearly with your team.
Once the piano is in its new location, you can begin reassembling any parts you removed earlier. Make sure everything is secure and stable before playing your first note.
Hiring Professionals
While DIY moving can be rewarding, hiring professionals like Utah Piano Movers can save you time and stress. We’re equipped with the specialized knowledge and tools required to move your piano safely and efficiently.
In addition to having the right equipment, our team is trained in the best practices for moving pianos of all sizes and shapes. With our help, you can focus on settling into your new home without worrying about potential damages or injuries.
Final Thoughts
Moving a console piano is no small feat, but with the right preparation and team, it can be done safely and efficiently. If you have any questions or need assistance, don’t hesitate to reach out to Utah Piano Movers. You can Contact Us by phone at 801-396-7323 or Request a Free Quote.


